A post-production colourist can work wonders in order to create empowering and cinematic images. However, the lingering term ‘fix it in post’ becomes neglecting to what makes good cinematography, and that is getting it right in camera before it reaches the editor. An extremely valuable in camera decision, is the glass that goes in front of the lens. Lens filters are used to manipulate the light entering the lens, both creatively and technically.
Most commonly, lens filters are a 4 x 5.65 square piece of glass, which sits in front of the lens via a matte box. Most matte boxes can house multiple filters at once, known as stacking. The second most common type of filter is circular and screw directly onto the end of the lens. Although, these are less practical if you are changing lenses frequently, due to being optimised for a specific thread size. Additionally, some filters can also be housed within the camera body itself.
DIFFUSION -
In today’s modern world, sharpness is becoming everything. The problem with today’s high-end cinema cameras and mirrorless systems, is that the sensors are too sharp and stray away from the classic film look that has been idolised for so long. Therefore, many cinematographers want to reduce the look of digital sharpness by softening their images and taking the edge off. Diffusion filters do not affect sharpness, they soften fine details within the image for smooth complexion, bloom the highlights and lift shadows.
Out of the many types and brands of diffusion filters, one favourable one includes Tiffen’s Glimmer Glass. Glimmer Glass adds a soft, clean halation and softens fine details, such as skin blemishes and overall texture to skin tones. It adds a soft bloom to highlights whilst suppressing any clipping. Furthermore, it lowers contrast which softly rolls into the shadows. In comparison to other Tiffen diffusion filters, such as Black Satin, they both similarly do the same thing in terms of smoothening out skin blemishes and blooming highlights, however Black Satin warms up the highlights whereas the Glimmer Glass doesn’t.
Glimmer Glass in use 
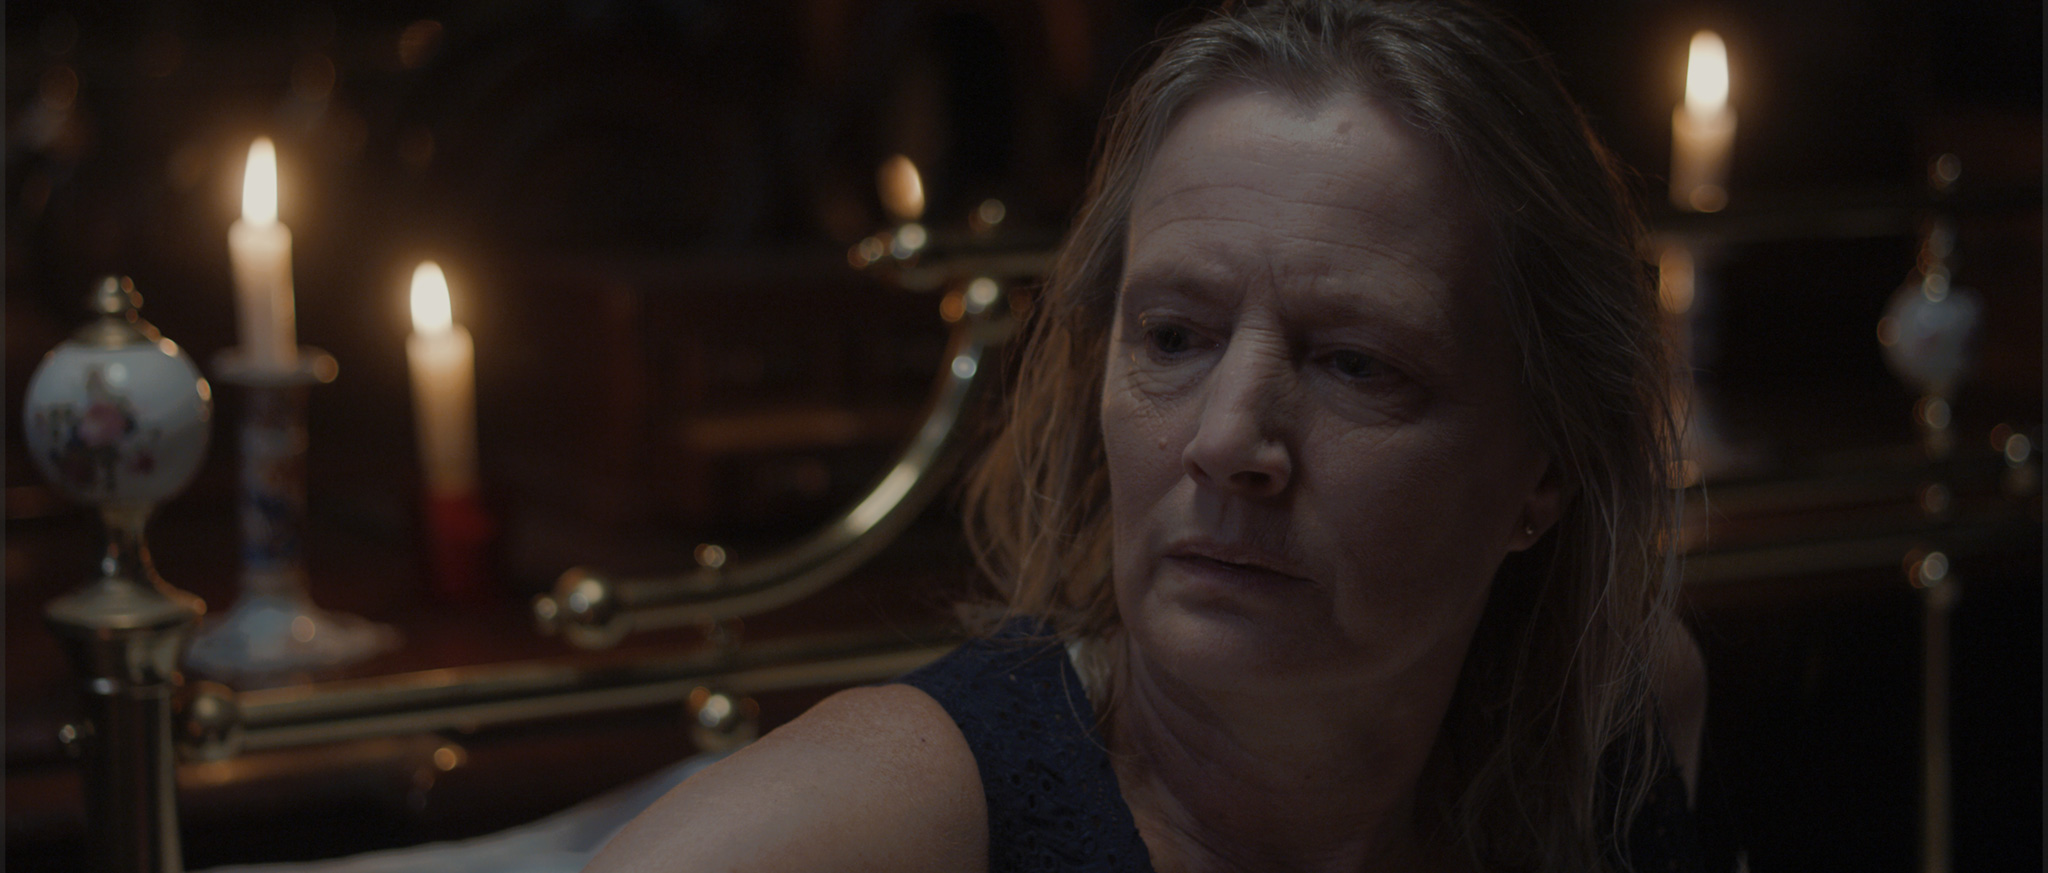
Director: Lawrence Fowler DoP: Cameron Bryson
As well as there being many different types of diffusion, most also come in a variety of strengths. Different brands come in different strengths; however, you will mostly come across 1, 2, 3, 4, 5 or 1/8, ¼, ½. The focal length will affect the strength of diffusion, when increasing focal length, it is advised to reduce the strength of diffusion. On a longer lens, a ¼ diffusion will have a stronger effect than it would when using a wider lens.
POLARISER –
Polariser’s are a special kind of filter, which cannot easily be mimicked with digital effects in post-production, unlike many other filters. In basic terms, when light emulates from its source, such as the sun, the waves distribute in all directions equally. When that light hits high-gloss surfaces like glass and water, it becomes polarised due to all the reflected light waves vibrating in the same place, rather than distributing equally. Through the human eye, we see this as intense highlight reflection glare. When using a polariser, it is able to isolate a specific orientation of light, therefore removing the reflection as well as enhancing colours. Although it’s impossible to remove all reflections completely, there will be a significant brightness reduction of the reflection.
When putting a polariser to use, a key factor is to ensure the filter is properly orientated at the correct angle, in order for it to be most effective. The polariser can be rotated in a rotating filter frame. Furthermore, with round screw on polarisers, they have threads which allow the filter to freely rotate once screwed securely onto the lens.
One of the main drawbacks that come from using polarisers is light loss. As the filter is absorbing light, you have to compensate for the exposure loss. On average the polariser will absorb 1 ½ to 2 stops of light depending on the filter brand and other factors.
ND –
ND (neutral density), filters are almost essential when shooting outdoors in harsh lighting conditions. They cut the amount of light reaching the camera’s sensor, which is measured in stops. It is likely to come across ND’s with different labels, these include:
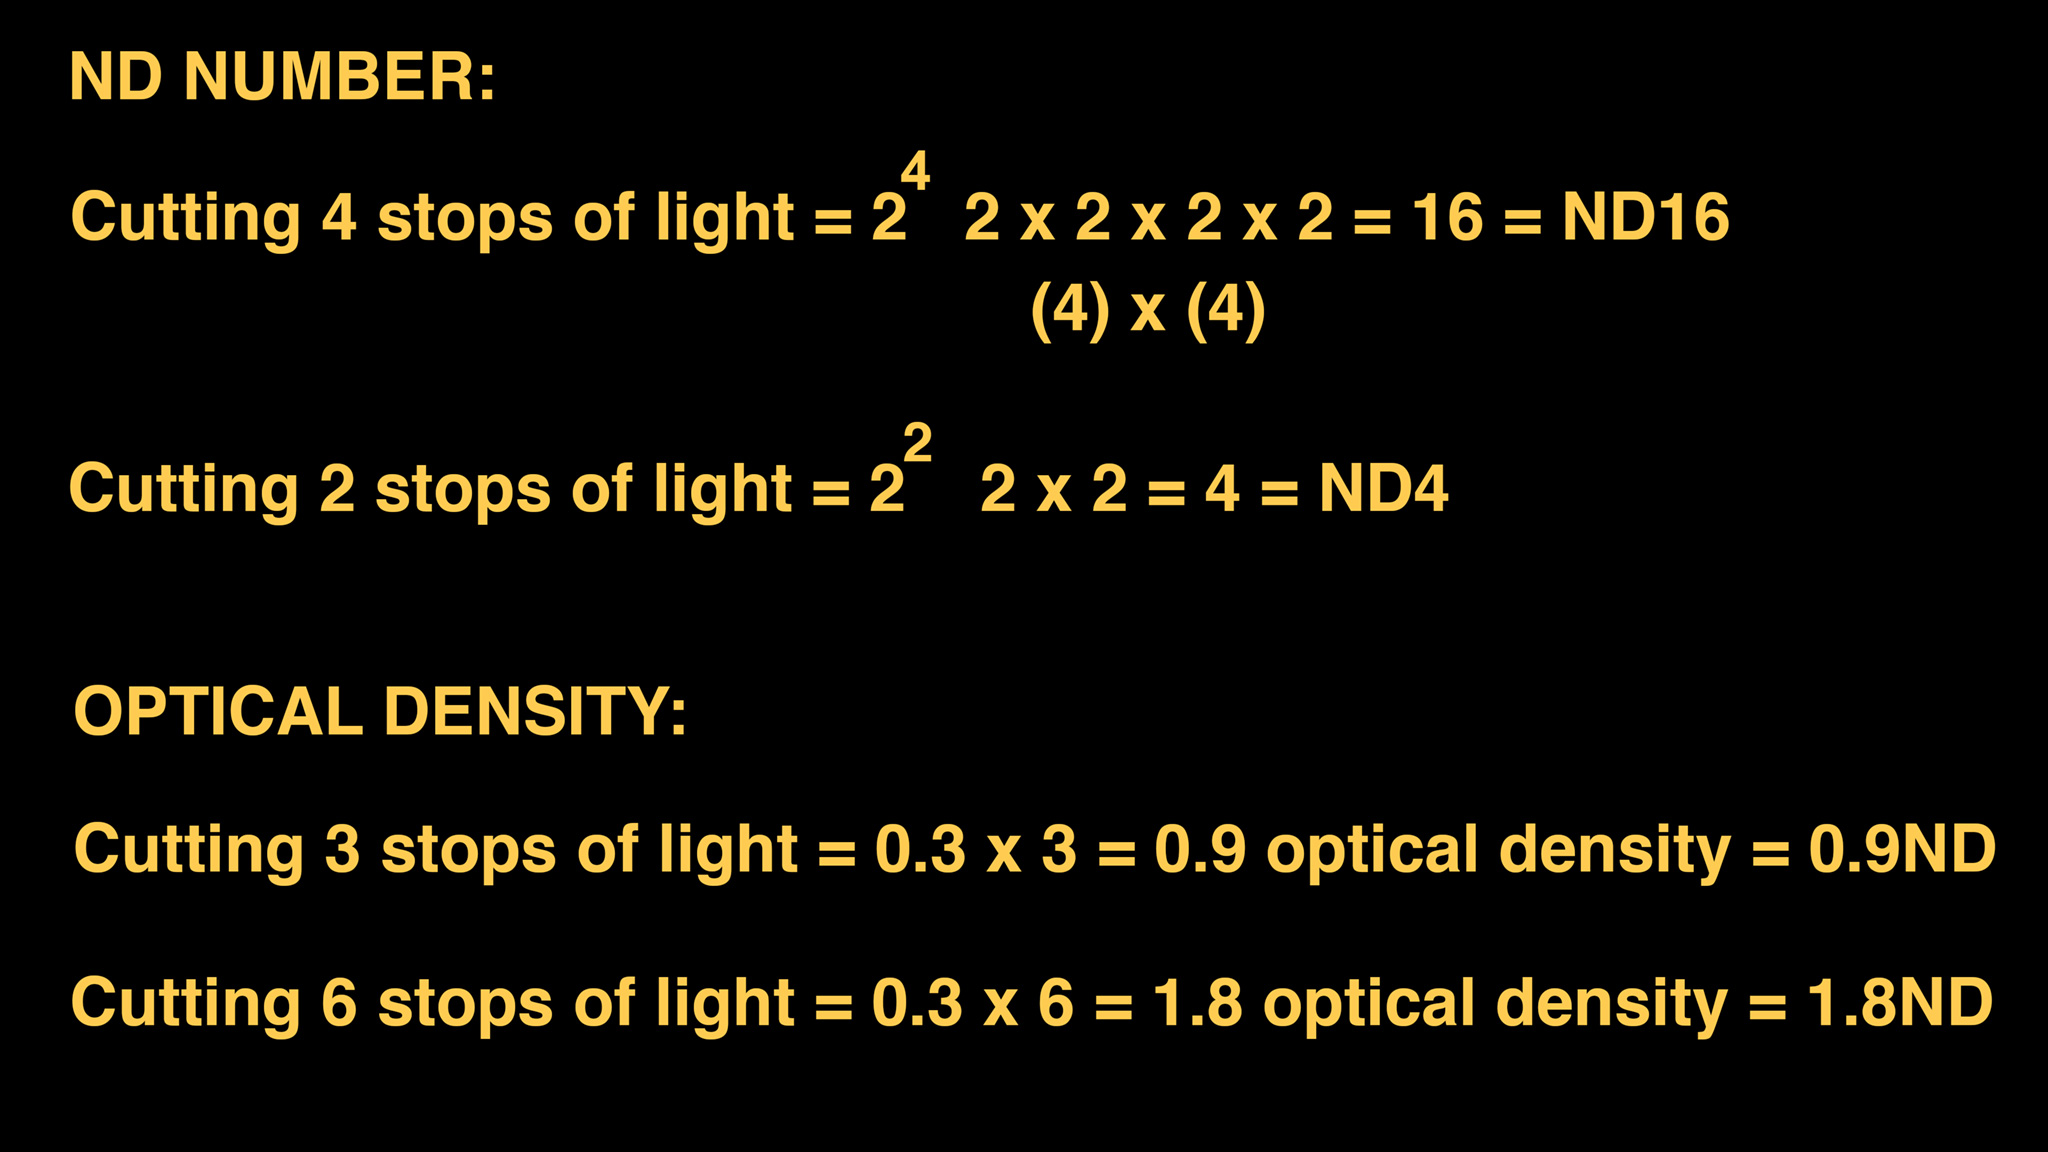
Optical density – 0.3ND, 0.6ND, 0.9ND, 1.2ND \ Optical density refers to the darkness of the glass.
Stop reduction – 3 stop ND, 6 stop ND, 9 stop \ ND Stop reduction refers to the stops of light cut.
ND number – ND2, ND4, ND8 \ The ND number refers to the denominator of a fraction. ND2 means ½ the amount of light is being allowed through. ND4 means ¼ the amount of light is being allowed through, which is half of ND2 and therefore 2 stops. ND8 is 1/8 and therefore 3 stops.
A good way to remember the ND number in reference to its optical density and stop reduction involves some basic math:
We manipulate light through the exposure triangle, which consists of shutter, ISO and aperture. ND allows one more function when you want to keep elements of exposure the same, such as shutter speed and aperture. It is important to note that ND won’t fix exposure, if a sky is blown out it will still be blown out whether you add ND or close down your aperture. They both offer the same effect of darkening the image, however, through using ND, it allows the user to maintain control over the desired camera settings. Additionally, many high-end cinema cameras have internal ND, which can vary from 4-8 stops.
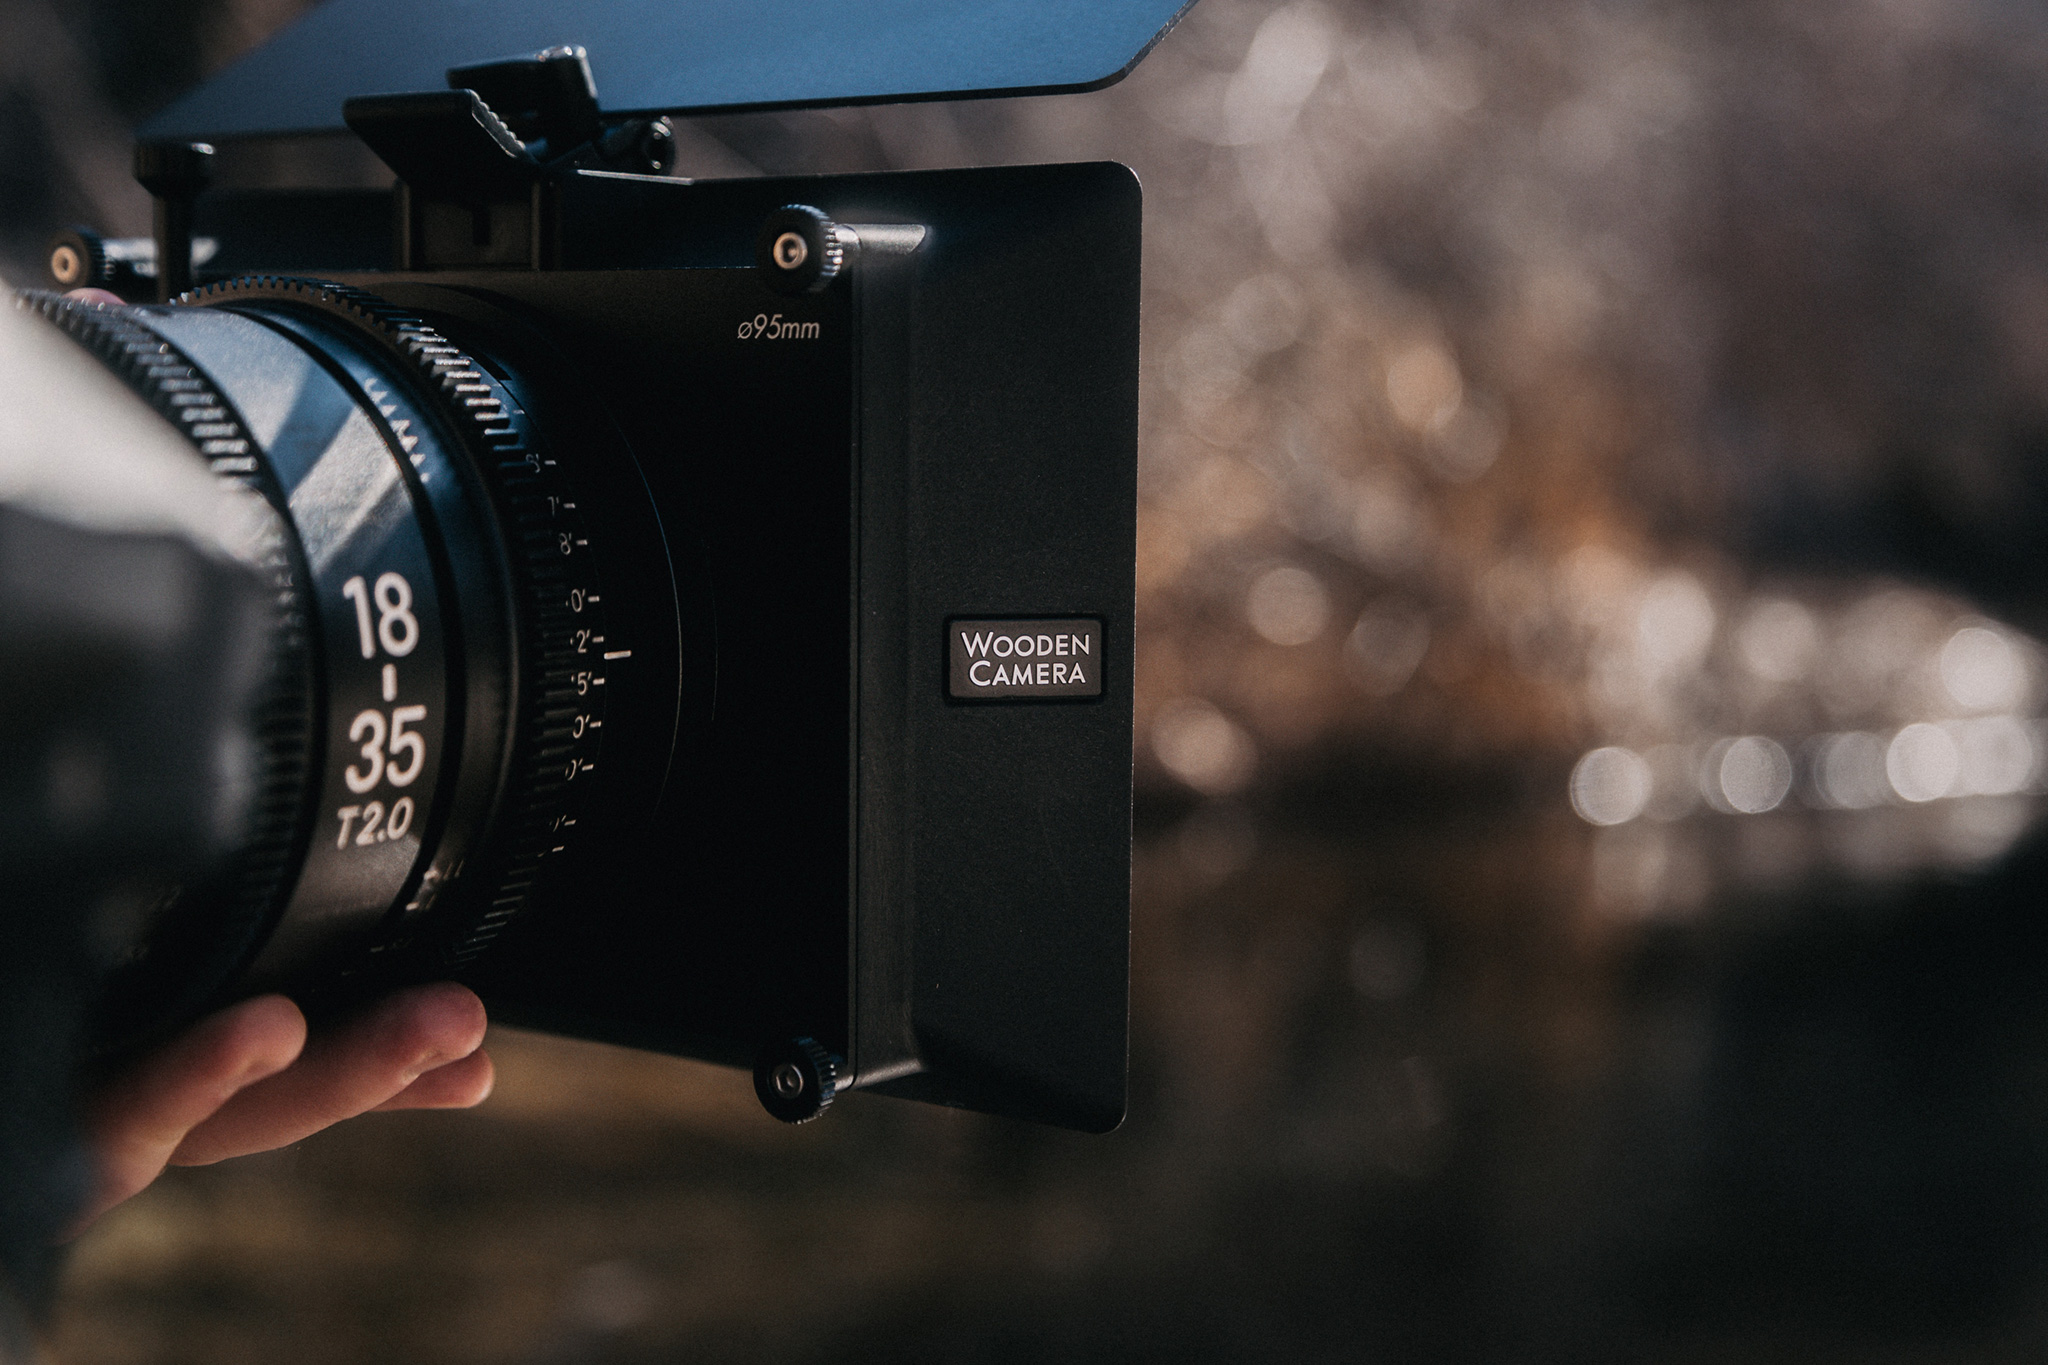 Photo by Jakob Owens on Unsplash
Variable ND –
Unlike fixed ND which only cuts a precise amount of light, variable ND cuts a range of stops, e.g. 5 – 11 stops. Variable ND is essentially two layers of polariser, positioned opposite to each other. The first layer of glass screws onto the lens and then the second rotates accordingly to reduce light to a varying degree. Choosing between variable and fixed ND has equal benefits and limitations. At foremost, variable ND is quicker and easier to use. Rather than having to continually swap out different fixed ND, a simple rotation of variable ND will change the level of reduction.
Furthermore, although it’s not advisable to skimp out on glass when purchasing any type of filter, variable ND is more cost effective through needing fewer pieces of glass. You will however need step-up rings in order to mount variable ND on to different thread size lenses. Nevertheless, a solid variable ND will still set you back a few hundred, but you lessen the risk of vignette, colour casting and strange X patterns found when using budget filters. A strong competitor for choosing the right variable ND include's Peter McKinnon's PolarPro Variable ND Filter (2 to 5 stops).
With fixed ND, it’s easier to guarantee the exact amount of light that has been cut, but variable ND is beneficial for fine tuning the level of light reduction. Overall, although variable ND is more convenient, they do hold risks which aren’t always worth the corruption of quality. In run and gun situations where convenience is key, a well-made variable ND is a great option. However, traditional fixed ND will always give you a better result and its advisable to carry a 3 and 6 stop which you can stack where necessary.
 Photo by Josh Miller on Unsplash
Gradual ND –
Gradual ND, also referred to as grad ND, is a gradual gradient of ND across the glass. Meaning at the top they have a stronger ND until they fade out to clear glass at the bottom. This type of ND should primarily be used for scenes which have a lot of dynamic range. For example, there’s a correctly exposed foreground, but the sky is bright and clipping. The correct exposure for the foreground and background will be at different stops, resulting in compensating for one or the other. Now say the foreground reads correct exposure at 5.6 stops and the sky reads 22, there is a 4-stop difference between the foreground and background. By using the same ND calculations as above, a Grad ND16 would be required. Meaning the scene could be exposed at 5.6 without a heavily blown out sky.
Stops reminder – 1.0, 1.4, 2.0, 2.8, 4.0, 5.6, 8, 11, 16, 22, 32
Additionally, grad ND’s have two types of edges where the ND fades out, one is soft, which has a smooth fade out and the other hard, which has a more solid line between where the filter ends and the clear glass. Soft grad is more advisable as it will have a more natural split between the two.
Grad ND can also be used vertically to split an interior with an exterior, for example, if the subject is near an open door, by rotating the glass the same effect of correcting exposure in one part of the image can be achieved.
Although a really useful tool, grad ND doesn’t come without cons. At foremost, they can be difficult to align and if the camera or subject is moving, they become impossible to use. Thus, the most common scenario for using grad ND is static shots to reduce bright skies.
IR ND –
To understand the purpose of IR ND (Infrared ND), begins by understanding what infrared light is. Follow the link below to a video by Indy Mogul, where Ted Sim and former ASC president Richard Crudo break down exactly what infrared light is and why filmmakers should be aware of it.
https://www.youtube.com/watch?v=07OucU3kHzA
Key points from the video –
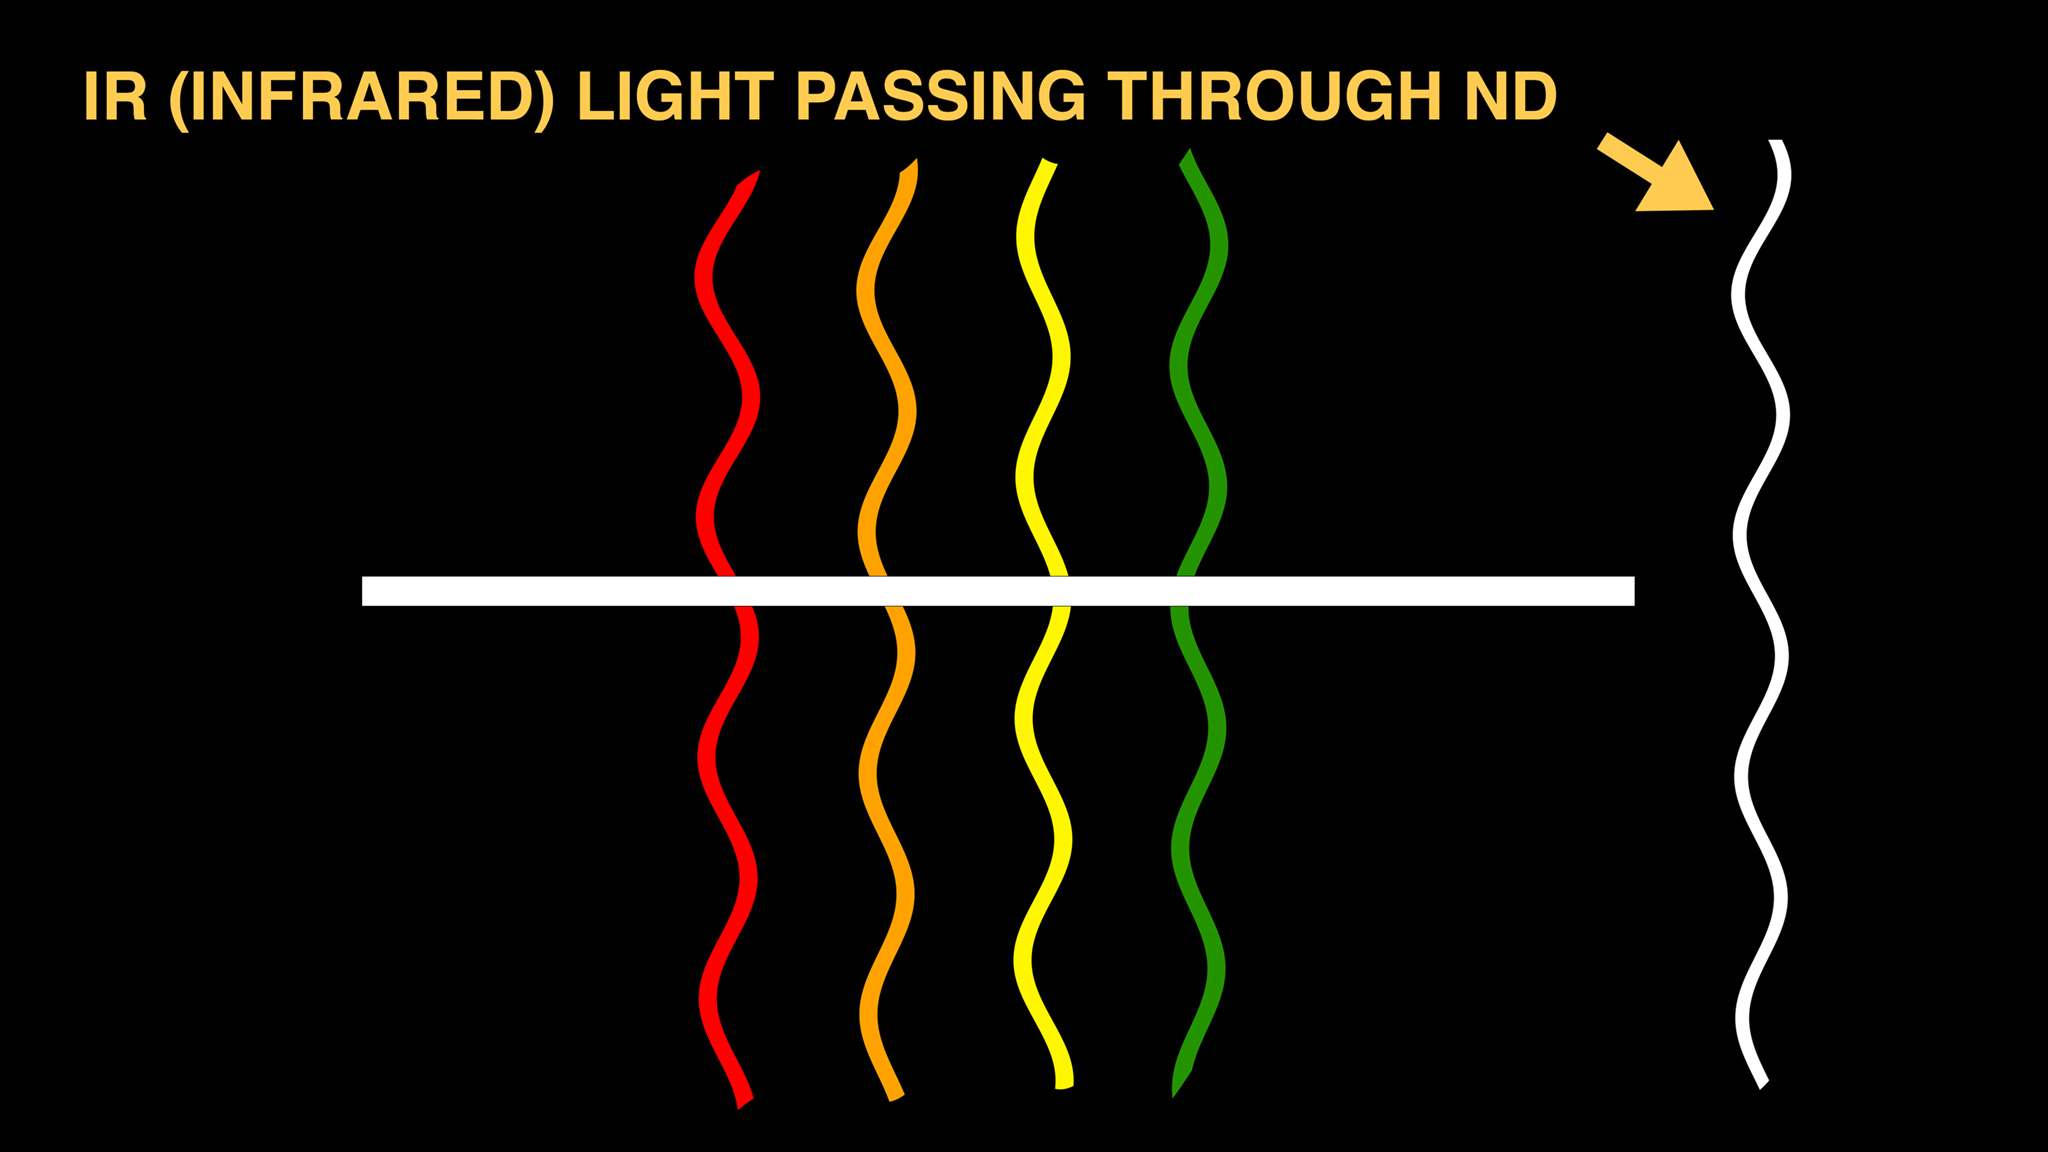
- The human eye cannot see infrared light
- Infrared pollution becomes problematic when using ND
- Pollution of infrared causes shift in colour, particularly reds and greens (Infrared light is at the red end of the spectrum, so data is interpreted as more red pixels)
- Infrared light refers to the part of the spectrum of light that the human eye cannot see, but could be captured by the camera
- Pollution of infrared light can come from both tungsten and daylight
- Digital sensors are more sensitive to infrared than film ever was
- Some digital cameras have IR filters built into them, such as the Alexa Mini and RED Dragon
How to solve IR pollution -
Other than using a camera with built in IR filters, if you want the truest colours within an image, it is important to be aware of infrared light and what you can do to minimise its effect. Regular ND is designed to block the visible spectrum of light, but they do not block infrared light. ND drops the level of light within a scene, but can’t protect the image from colour shifts, but in fact, worsens the effect of infrared light. The more ND used; the more colours begin to shift due to IR. With 0.9ND, blacks may begin to turn a maroon colour.
With today’s advanced technology, brings solutions such as Tiffen’s NAT ND’s (Natural neutral density). NAT ND has significant improvements on neutral density filtration, through neutrality across the IR spectrum to prevent colour shifts. Lee filters also have different levels of IRND, designed to absorb the infrared light, more so than traditional ND, resulting in no colour cast.
CINE.TO is a participant in the Amazon Services LLC Associates Program, I may earn a small commission for my endorsement, recommendation, testimonial, and/or link to any products or services from this website. Your purchase helps support my work in bringing you real information and tips about everything cinematography and photography related.